Quick Start with Ultra+
Everything you need to go from zero to playing — install, apply presets, and configure, all in one place. The fastest way to get started is with Ultra+ Manager (UPM), which handles downloading, installing, updating, and configuring Ultra+ for all your games.
1. Install Ultra+ Manager
Download UPM
Download Ultra+ Manager directly from Ultra+, from NexusMods, or through the Ultra Place Discord.
Install and launch
UPM automatically detects your installed games. If a game isn’t detected, you can manually point it to the game’s root folder.
Click Install
Select a game and click Install Ultra+ (or Update if you already have an older version). That’s it — UPM downloads and installs everything.
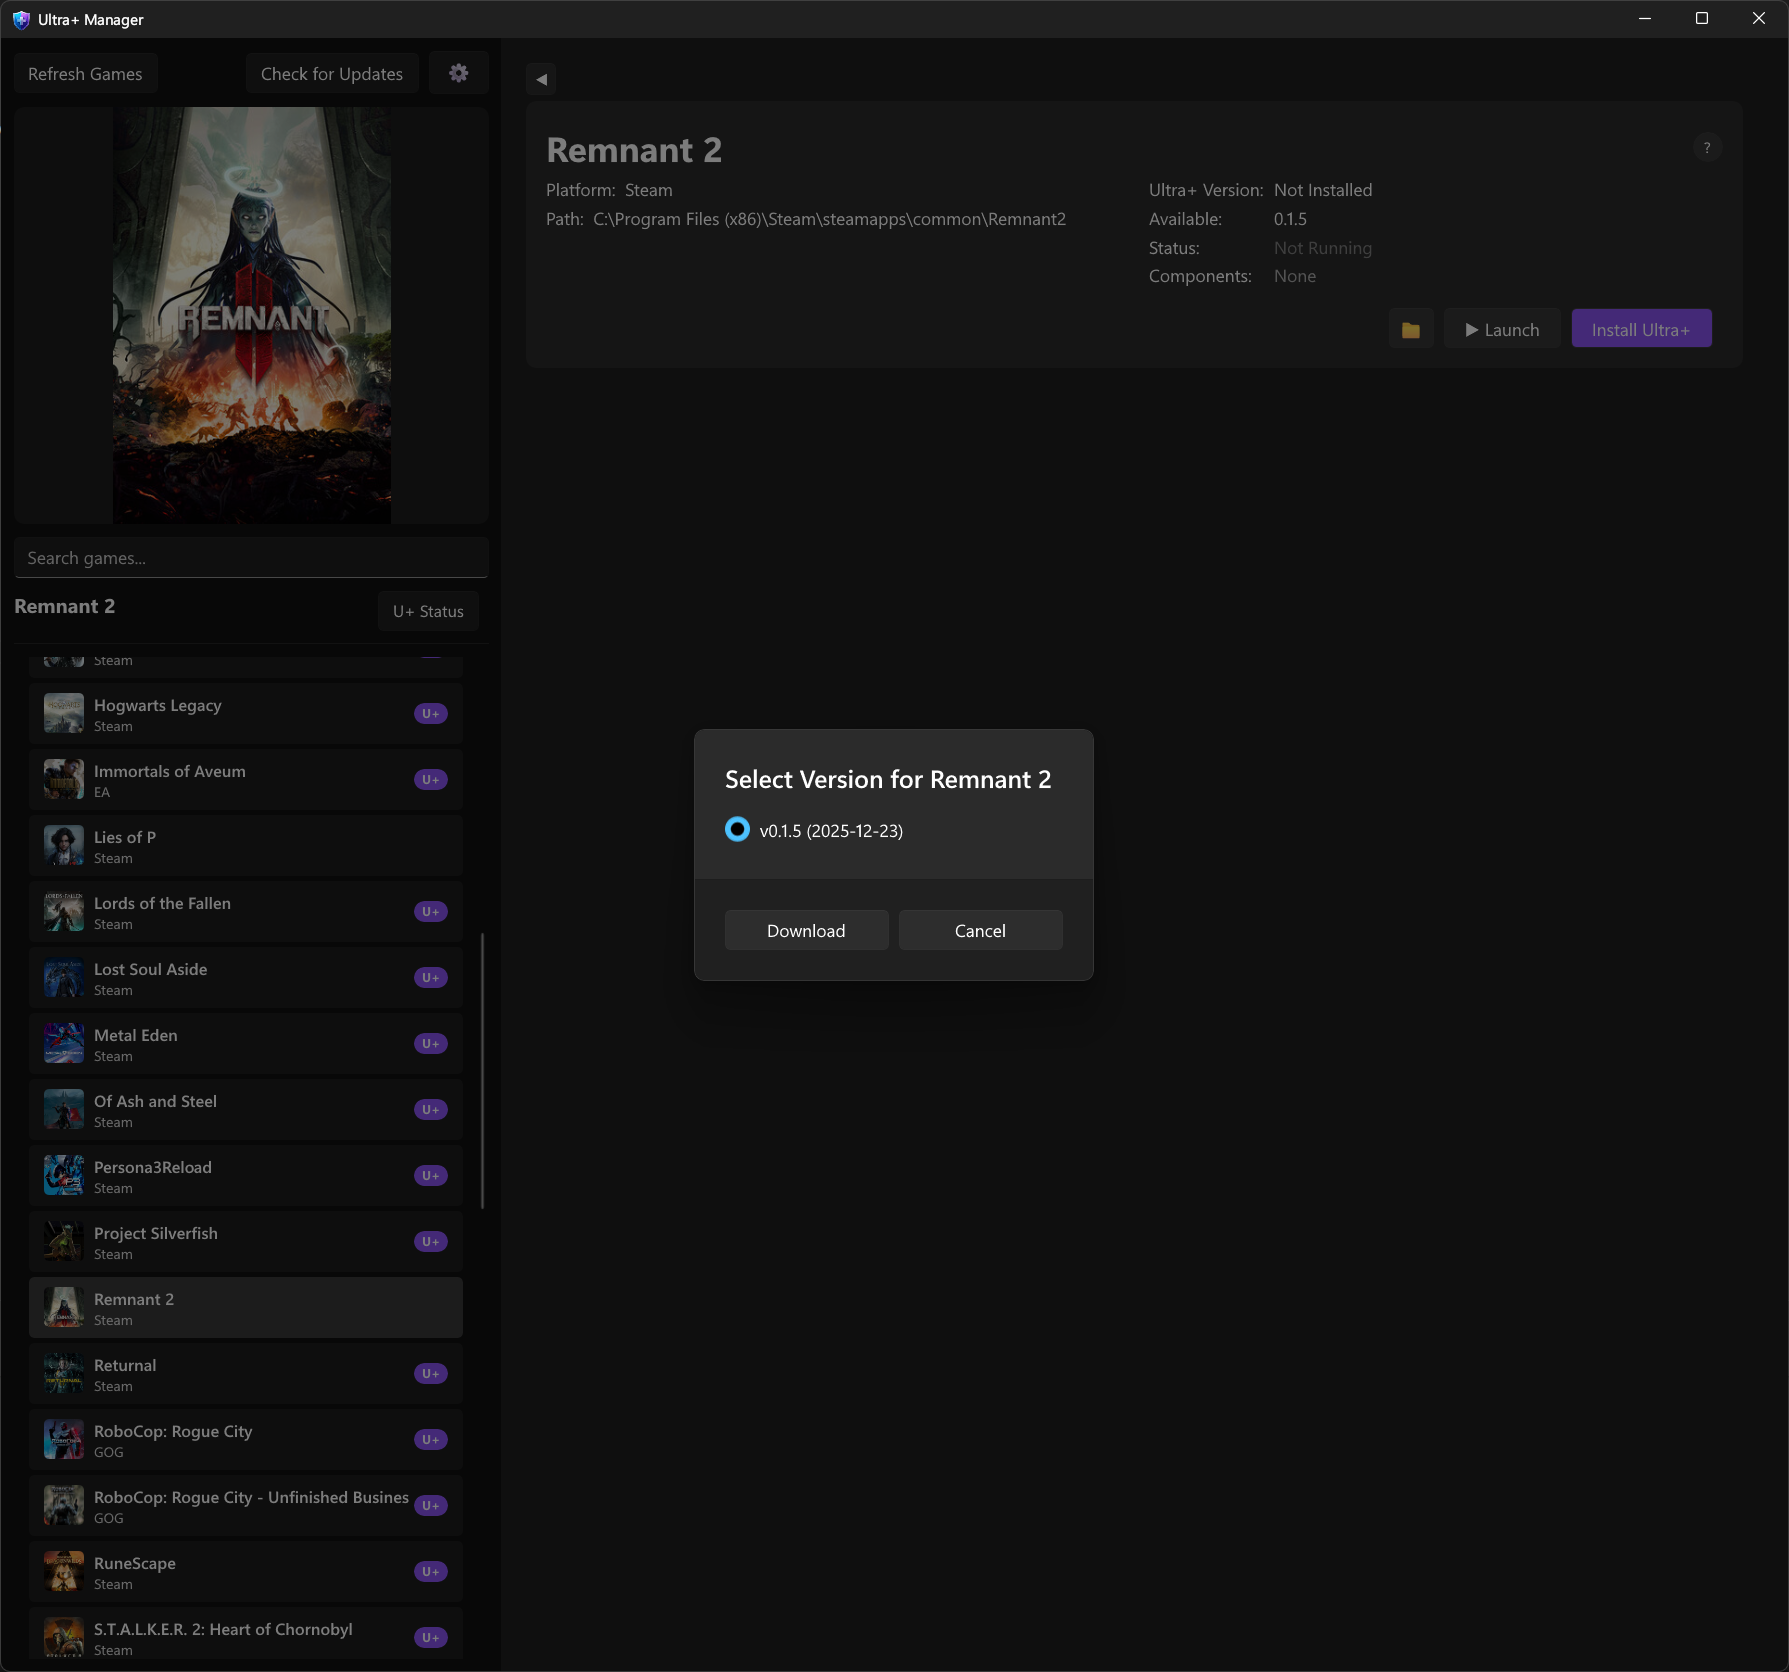
2. Apply presets
Presets are the recommended starting point. Quality presets are included with the mod at install time — you don’t need to launch the game to generate them.
- Select your game in UPM and open Setup Wizard
- Leave Apply Ultra+ defaults (recommended) enabled to establish the baseline
- Optionally select a quality preset, or choose None to keep just the baseline
- Optionally choose Active Upscaler / Ray Reconstruction to match what you use in-game; see the wizard instructions for details
- Click Save All when finished
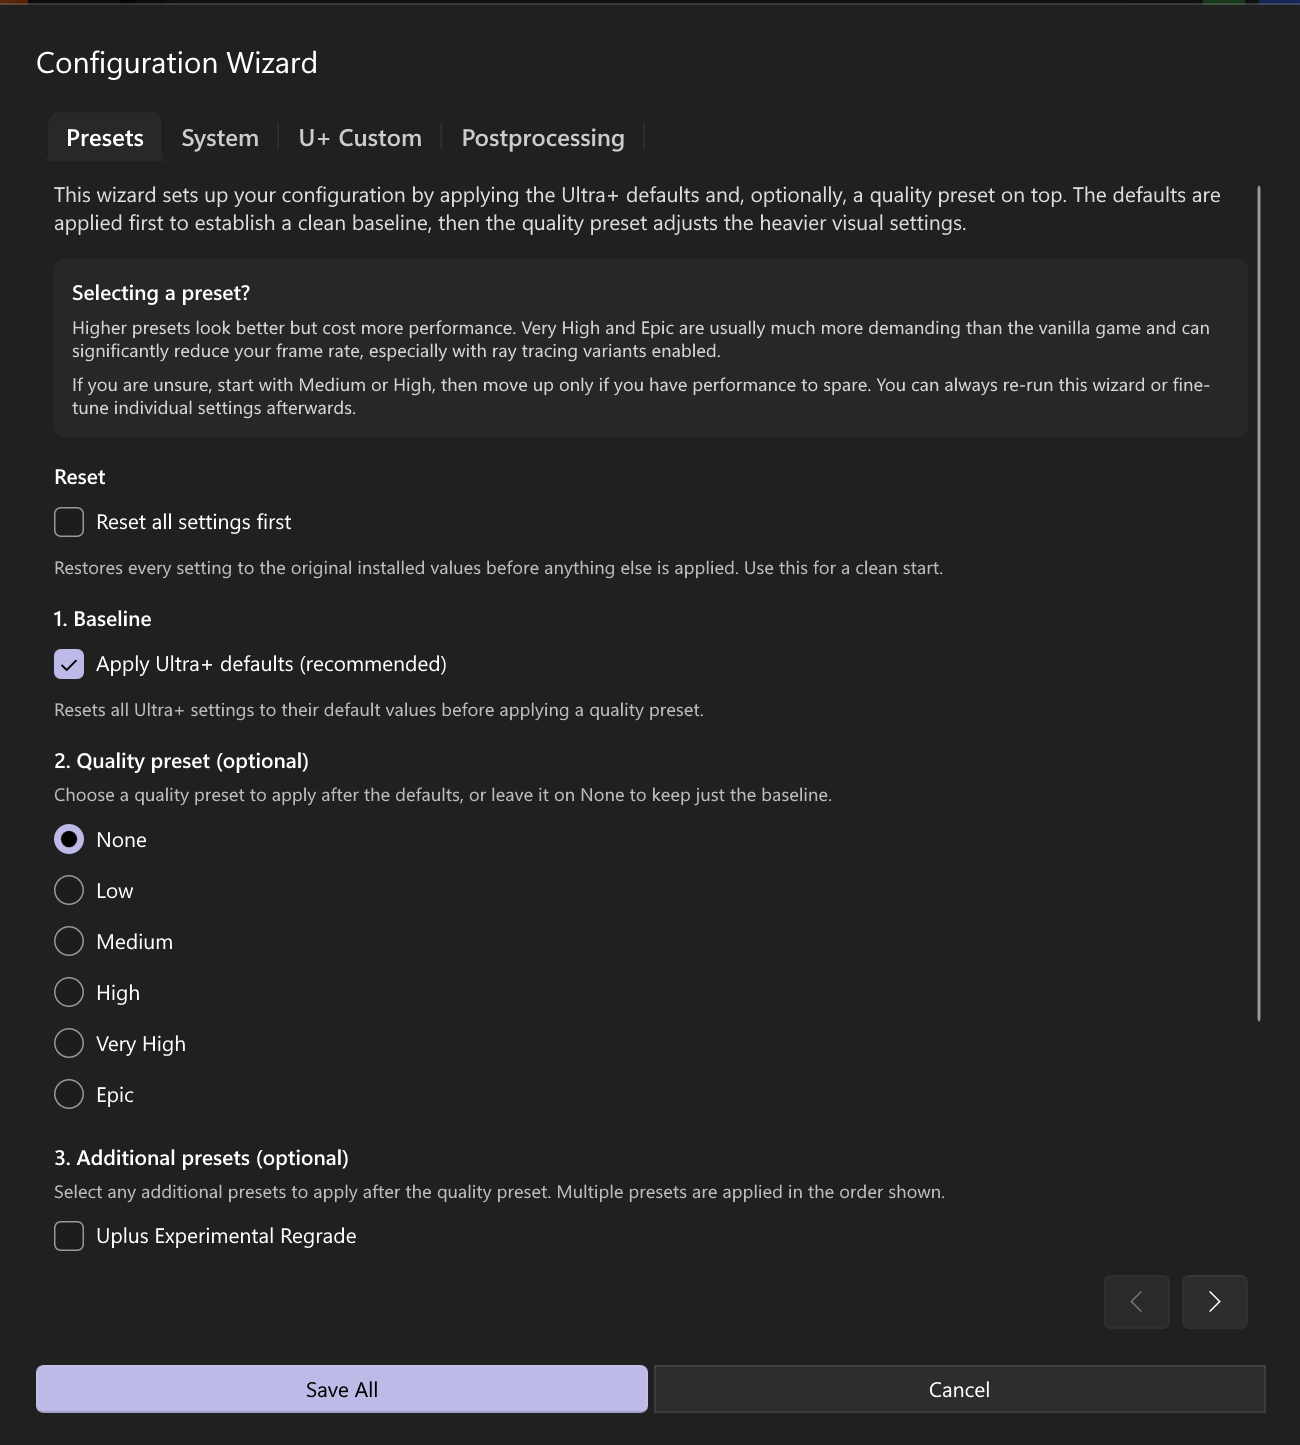
Alternatively, use the preset dropdown to apply uplus_recommended, then your preferred quality preset.
Quality presets range from low, targeting optimizations without sacrificing visual fidelity, through medium, high, and veryhigh, to epic, which prioritizes fidelity over performance. They are not equivalents of the game’s own presets. See Configuration — Using presets for details.
3. Configure your settings
Use UPM’s game view to adjust Ultra+ settings — no manual file editing needed.
- Open UPM and select your game
- Adjust settings using the interface
- If the game is already running, press F12 in-game to reload the configuration, unless AutoApplyConfig is active
Rare settings require a game restart. Check the setting’s description for this requirement; F12 or AutoApplyConfig does not replace a restart for those settings.
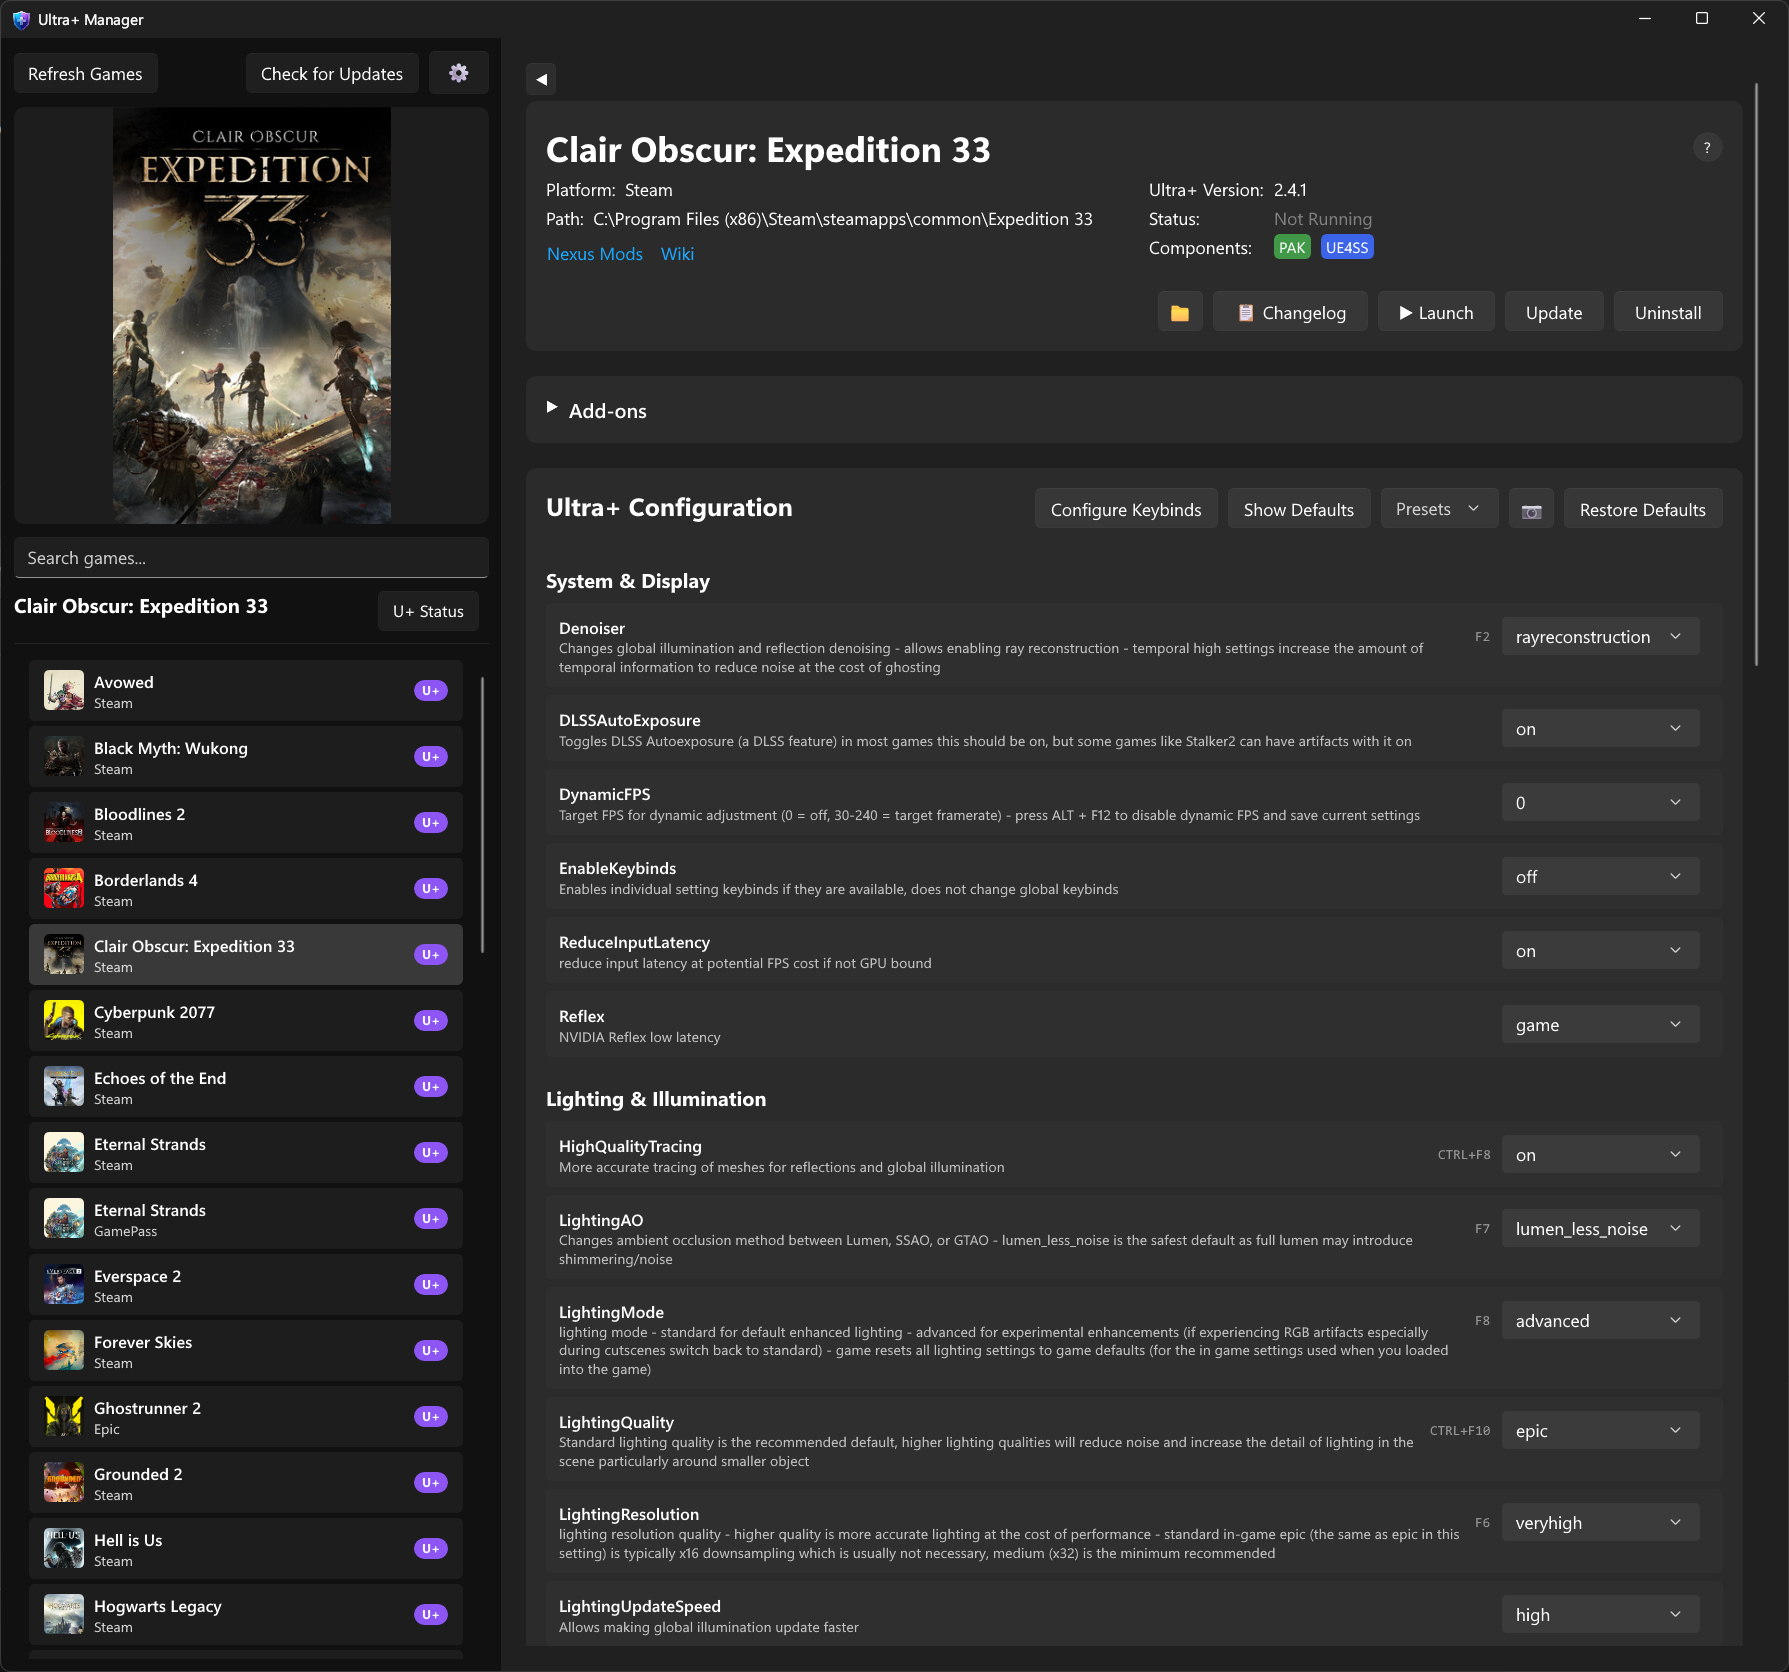
See Configuration for applying changes, presets, and keybinds. For explanations of individual options, visit your game’s guide.
4. Use the in-game overlay (optional)
UPM includes a built-in overlay for changing settings while you play:
- Default keybind: Ctrl + Shift + F11
- Your game must be in borderless windowed mode for the overlay to work
- Where supported, AutoApplyConfig lets settings and presets update live once enabled and loaded. See Applying changes for how to activate it
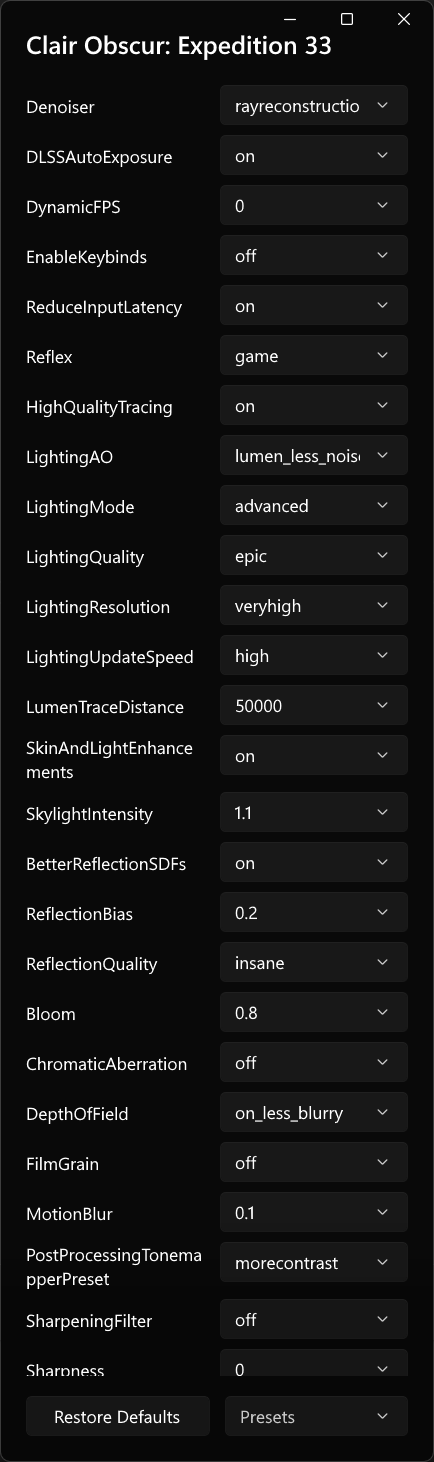
5. Play
Launch your game normally. UPM doesn’t need to be running — settings are loaded automatically on game startup.
Where to go next
⚙️ Configuration
How to apply settings, use presets, configure keybinds, and add custom engine variables.
🛠️ Ultra+ Manager
Everything UPM can do — presets, overlay, keybind configuration, and add-ons.
🚀 Performance + Upscaling
DLSS, FSR, sharpening, FPS limiting, and system-level optimisations.
🎮 Game-Specific Guides
Configuration details and tips for your specific game.
📦 Manual Install
Advanced installation without UPM, including UE4SS setup and config file locations.
🔧 Troubleshooting
Shader cache issues, mod conflicts, crash fixes, and debugging steps.